
Description
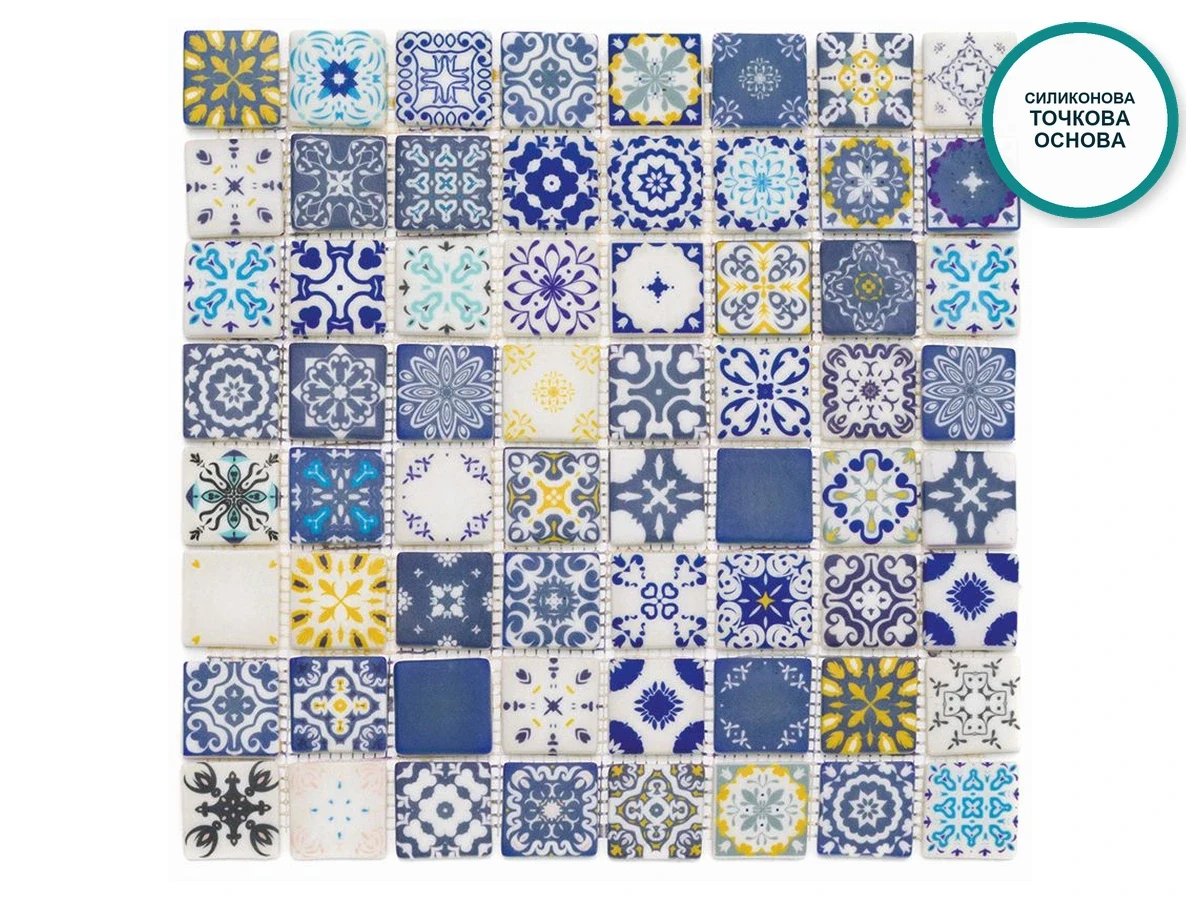
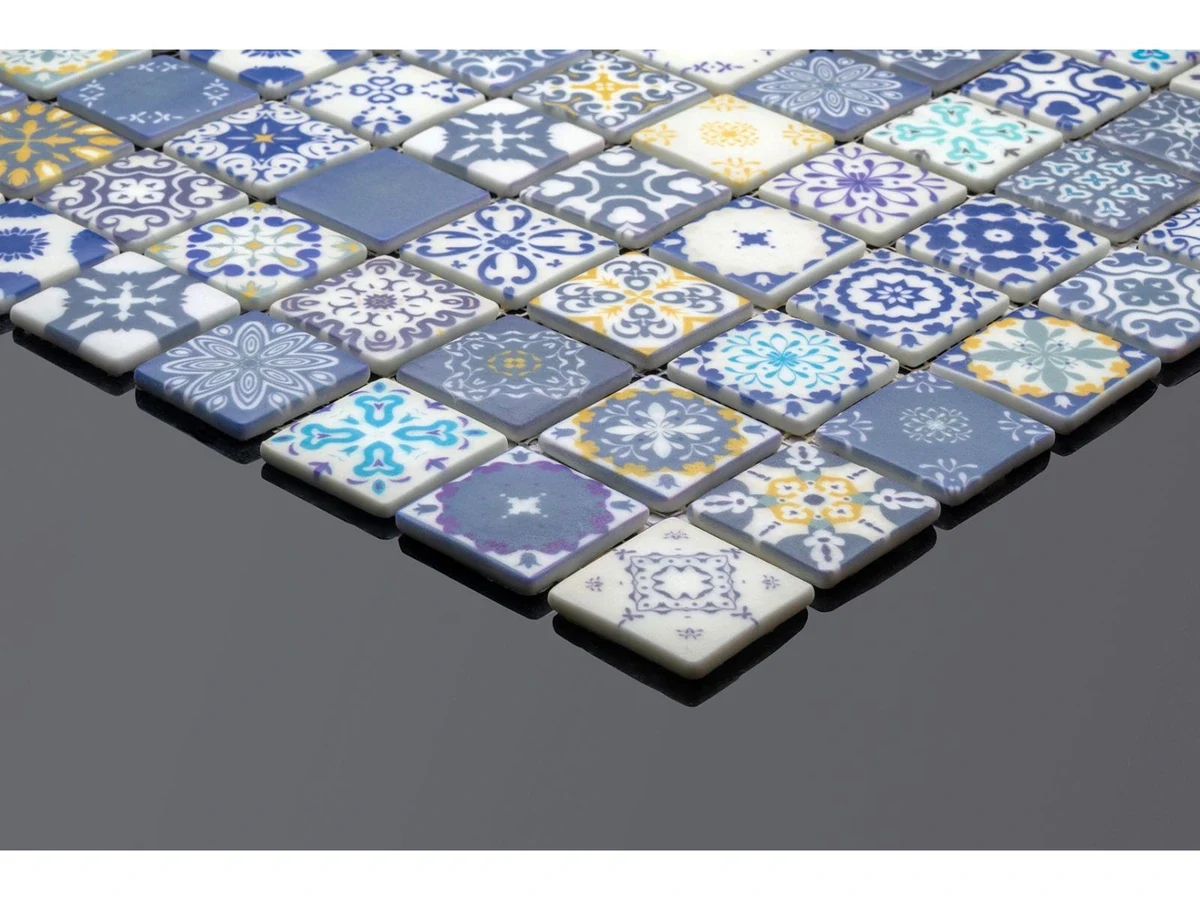
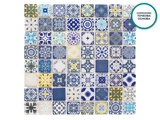
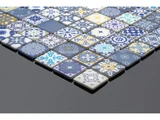
Córdoba is a dark blue glass-ceramic mosaic with square chips decorated with patchwork motifs in yellow and light blue. The chips are 40 × 40 mm and 5.5 mm thick. The deep blue background makes the yellow details stand out like lights in dark water, and the glazed shine keeps the colour alive.
Where Córdoba mosaic fits
- kitchen
- bathroom
- accent wall next to light surfaces
- panels and borders in the interior
Technical specifications
| Item number | MOSFBLDJ013 |
| Tile type | square with printed pattern |
| Thickness | 5.5 mm |
| Chip | 40 × 40 mm |
| Material | glass ceramic (100% recycled glass) |
| Sheet backing | silicone (polyurethane) dots |
| Sheets per square metre | 10 |
| Sheet | 325 × 325 mm |
| Suitable for | decorative walls, hammams, spa areas, kitchens, shower cubicles and bathrooms |
| Chemical resistance | class A, ASTM C650 |
| Frost resistance | yes, ASTM C1026 |
| Flexural strength | 55 N/mm² |
| Water absorption | up to 0.04% per EN ISO 10545-3 |
| Grout joint width | 2 mm |
| Quantity per carton | 1 m² |
| Colour and pattern | dark blue patchwork pattern with yellow and light blue |
| Unit of sale | 1 m² |
Why glass ceramic
- Non-porous. Water absorption is up to 0.04%, so the surface does not stain, grow mould or hold odours.
- Lasting colour. It does not fade in sunlight (ISO 4892) and withstands cleaning products (class A per ASTM C650).
- For outdoor use. Withstands repeated freezing and thawing (ASTM C1026).
- Strong. Flexural strength is 55 N/mm² (EN ISO 10545-4), and the surface is smooth and free of defects.
- Eco-friendly. It is made entirely of recycled glass (100%), and the pigments contain no lead, cadmium or other heavy metals.
Sheets on silicone dots
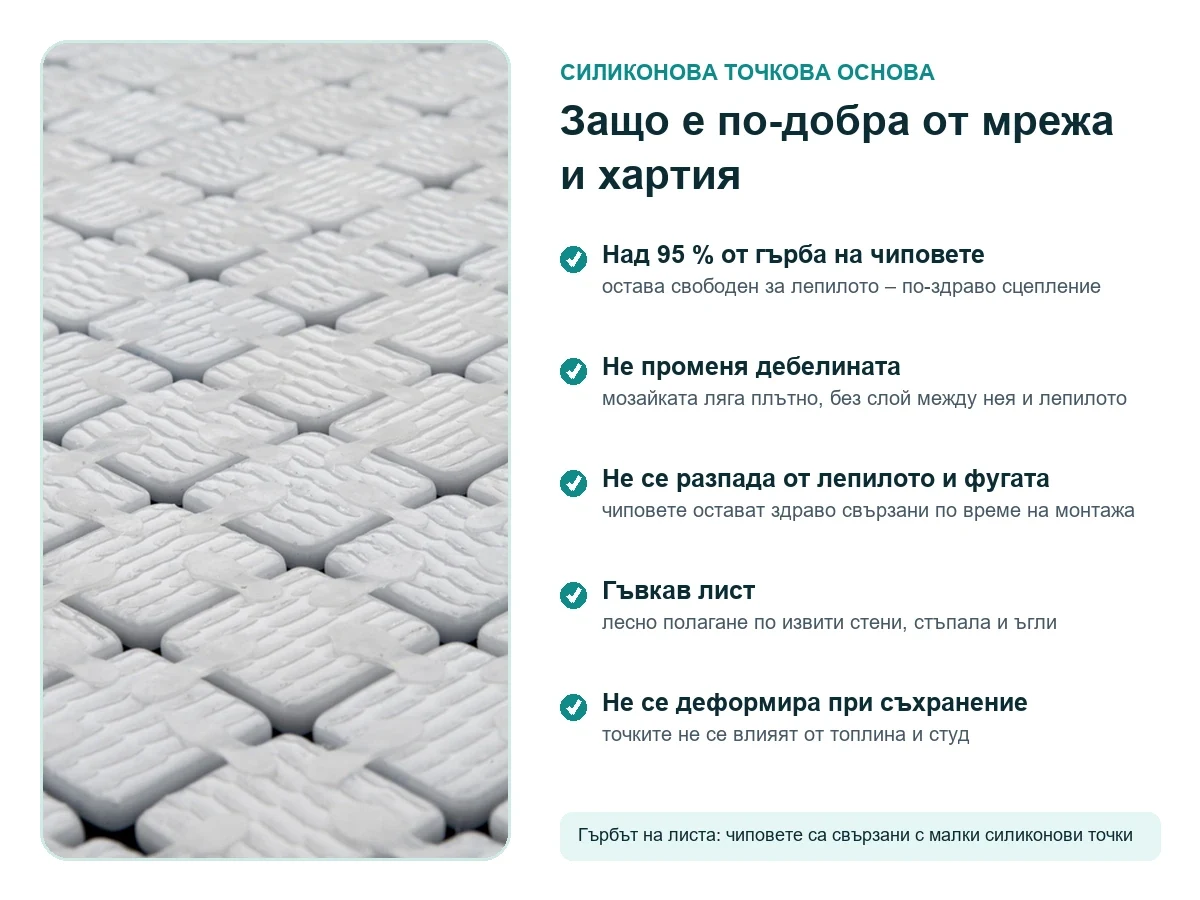
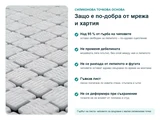
The Córdoba sheets are fixed on silicone (polyurethane) dots that hold the chips without covering their backs. More than 95% of each chip stays free for the adhesive, so the bond is strong. The backing does not change the thickness, resists the adhesive and the grout, and does not warp in storage. The flexible sheet follows curved walls, steps and corners.
| Backing | Free back for adhesive | Laying on curves | After installation |
|---|---|---|---|
| Silicone dots | over 95% | very easy | nothing to remove |
| Mesh | less, the mesh covers part of the back | easy | nothing to remove |
| Paper | the whole back, but the paper is on the front and hides the chips | difficult, the paper tears | the paper is soaked and peeled off |
Grout colour
White grout brings out the yellow, while dark blue makes the pattern deeper. For showers and wet areas it is better to grout with an epoxy or a waterproof class C2 mix that does not absorb water and does not change colour.
How to calculate the quantity
Measure the height and width of each wall to be tiled, work out their areas, add them together and add an allowance for cutting. Indicative figures are: adhesive about 2 kg/m² for chips up to 25 mm and 2.5 kg/m² for 40 mm; for the grout use the formula 1.6 kg/m² × C × D × (A + B) / (A × B), where for this product the chip dimensions and the joint width are those in the table. Actual consumption varies with the evenness of the substrate, its absorbency, the adhesive and grout chosen, the notches of the trowel, the joint dimensions and the skill of the tiler, so treat the figures as approximate and compare them with the data from the manufacturer of the materials. The mosaic is sold in multiples of a 1 m² carton; for a large area, take the whole quantity at once, with a 5–10% allowance, so that it comes from one batch and has the same shade.
Installation steps
- The substrate must be dry, sound, dust-free and with a deviation of no more than 2 mm over 2 m. Waterproofing is applied before the tiles in the shower area.
- Choose a flexible cement-based adhesive C2TE S1 in white: glass lets a little light through, and a grey mix will darken the pattern.
- Spread the adhesive with a 3–4 mm notched trowel over an area for 2–3 sheets.
- Place the sheet onto the adhesive and press it down with a rubber float using even pressure. Leave the same 2 mm joint between the sheets.
- At corners and around nozzles, cut the dots with a utility knife; individual chips are cut off with special glass mosaic nippers.
- Grout after 24 hours. Remove excess grout with a damp sponge while it is still soft; epoxy grout must be cleaned immediately with a special cleaner.
- Use the shower only after the grout has fully hardened.
Also prepare: epoxy or waterproof grout, two floats (a 3–4 mm notched one and a rubber one), a utility knife, glass mosaic nippers, a sponge, a bucket and water. You can lay over old tiles if they are sound, clean, degreased and primed with a suitable primer.
Test results
| Parameter | Value | Standard |
|---|---|---|
| Water absorption | no more than 0.04% | EN ISO 10545-3 |
| Breaking in bending | 55 N/mm² | EN ISO 10545-4 |
| Surface defects | none, on all chips | EN ISO 10545-2 |
| Acids and alkalis | class A, colour does not change | ASTM C650 |
| Freeze and thaw | withstands cycles | ASTM C1026 |
| Sunlight (UV) | colour unchanged | ISO 4892 |
| Thermal expansion | within the standard | EN ISO 10545 |
Surface care
- Clean with a soft cloth or sponge and a neutral cleaner.
- Avoid abrasive powders, wire brushes and acidic cleaners, which attack the grout.
- After a shower, go over the surface with a rubber squeegee so that no water marks remain.
How it looks in real life
The colour of glass mosaic is perceived differently depending on the screen, the lighting, the viewing angle, the grout colour and the surrounding surfaces. A slight difference in shade between batches is possible, so photos and visualisations are for guidance only.